What to Bring
Skiing and Snowshoeing: What to Bring
A winter trek or glide through the Haliburton Highlands is often the answer to your search for peace and tranquility. However, your snowy paradise can quickly turn into an unrelenting hardship if you forget to pack the essentials.
Being prepared with a few items in your bag will help keep you safe on your adventure. Here are six things that should always be in your day pack for winter activities like skiing or snowshoeing:
1. Something to light the way
Days are shorter in winter, meaning it gets dark earlier.
Always plan to be off the trails before dusk, but be prepared in case your journey takes longer than expected or an injury slows you down.
A headlamp or flashlight allows you to navigate safely if you find yourself on the trail after dark, a major safety hazard and a common rescue situation in winter.
2. Water
Always bring plenty of water.
While many people remember to hydrate on warm days, it’s just as easy to become dehydrated in winter. Activity in snow or cold burns energy quickly, and staying hydrated is essential.
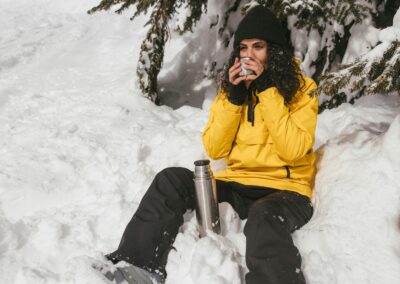
For colder temperatures, consider an insulated water bottle to keep your water from freezing. Adding a thermos of something warm can be a comforting treat during your adventure.
3. High-energy snacks
Winter activities like skiing and snowshoeing often require more fuel than you might expect.
Navigating snowy trails or gliding across groomed paths takes extra effort, and the cold temperatures burn energy faster. Keep high-energy snacks like trail mix, jerky, or energy bars on hand for quick boosts.
4. Phone or spot unit
Before hitting the trails, let someone know your planned route and estimated return time.
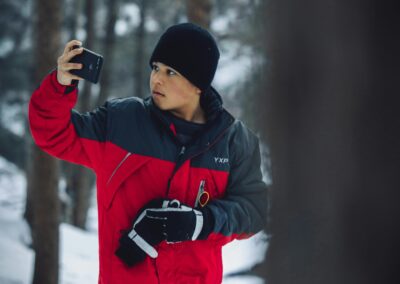
Pack a phone or a GPS-enabled device for emergencies. Be aware that phone service can vary depending on your location. Devices like spot units are more reliable in low-service areas.
To ensure your phone works, keep it insulated or close to your body to protect it from the cold, and bring a portable charger if possible.
5. A trail guide and/or map
Whether skiing or snowshoeing, a trail guide or map is a must-have.
If your destination offers printed guides, bring one along. If not, take a photo of the trail map at the trailhead as a backup. Many locations also offer digital maps for download.
A physical copy is especially important in case your phone doesn’t hold up to the cold.
6. Extra layers
Layering is key to enjoying winter activities.
Pack extra gloves, socks, and a lightweight insulated jacket to ensure you stay warm if conditions change.
A few other items to consider:
- A waterproof cover for your pack to protect your gear from snow.
- Hand warmers, which can also warm boots or gloves.
- Matches or a fire starter for safety on longer excursions.
Pro Tips for Your Winter Adventures
- Choose shorter trails if you’re new to skiing or snowshoeing (2 km or less is a good start). These activities often take longer and require more energy in winter conditions.
- Bring a small foam pad to use as a seat for rest stops or lunch breaks—it turns a cold log or rock into a comfortable perch.
For more information about local winter trails, check out our Skiing and Snowshoeing webpage!


